One of my goals with this blog is to create an exchange of ideas and tips that those of us in smaller markets might not otherwise have the resources for. But, the first tips I’d like to share aren’t so much for the designers as for the people they might work with, the advertisers who provide their own artwork.
Not to pick on any one group of people, but, well, you real estate agents could especially use some help. Most of the time, real estate photos in the newspaper are going to be small enough the flaws in the photo won’t be so noticeable. But if people are looking at it online as a PDF they can magnify, or if the photo might also be used in a higher-quality publication or online, those flaws will show. So let’s take the best picture you can to start with.
Any business owner who wants to provide their own photos of their products, or ad sales people who occasionally take pictures for their clients’ ads, might also find these tips will make your ad designers happy.
• This first tip might sound painfully obvious, but I bet a lot of people haven’t done it: Read the manual for your camera. You don’t need an expensive SLR with lots of bells and whistles to take a decent picture, but you should know how to use what you have. How many times have you been taking pictures and you know there’s a setting that will help with the lighting situation you’re in, but you can’t remember where to find it? You waste time pushing buttons, going back and forth on the screen displays and finally just say the heck with it and take an awful picture. Read your manual with your camera in your hand. Get to know those settings and what they do. If you don’t have a manual, you can probably find it for download on the manufacturer’s website. If you have a specific question about how to do something, type that question into your favorite search engine (ex: “How do I set shutter speed on my Cannon Powershot?”)
• Take the photo at a high resolution. Newsprint is not the best medium for photography (a photo editor I once worked with described it as “printing on toilet paper”). Even if the photo is going to be only about an inch wide, a high resolution image will help us make it as clear as possible. Set your camera to shoot at least 300 pixels per inch. Even better: Ask the publication what resolution they would prefer. They might even help you set that on your camera if you don’t know how and ask real nice. And maybe offer them cookies.
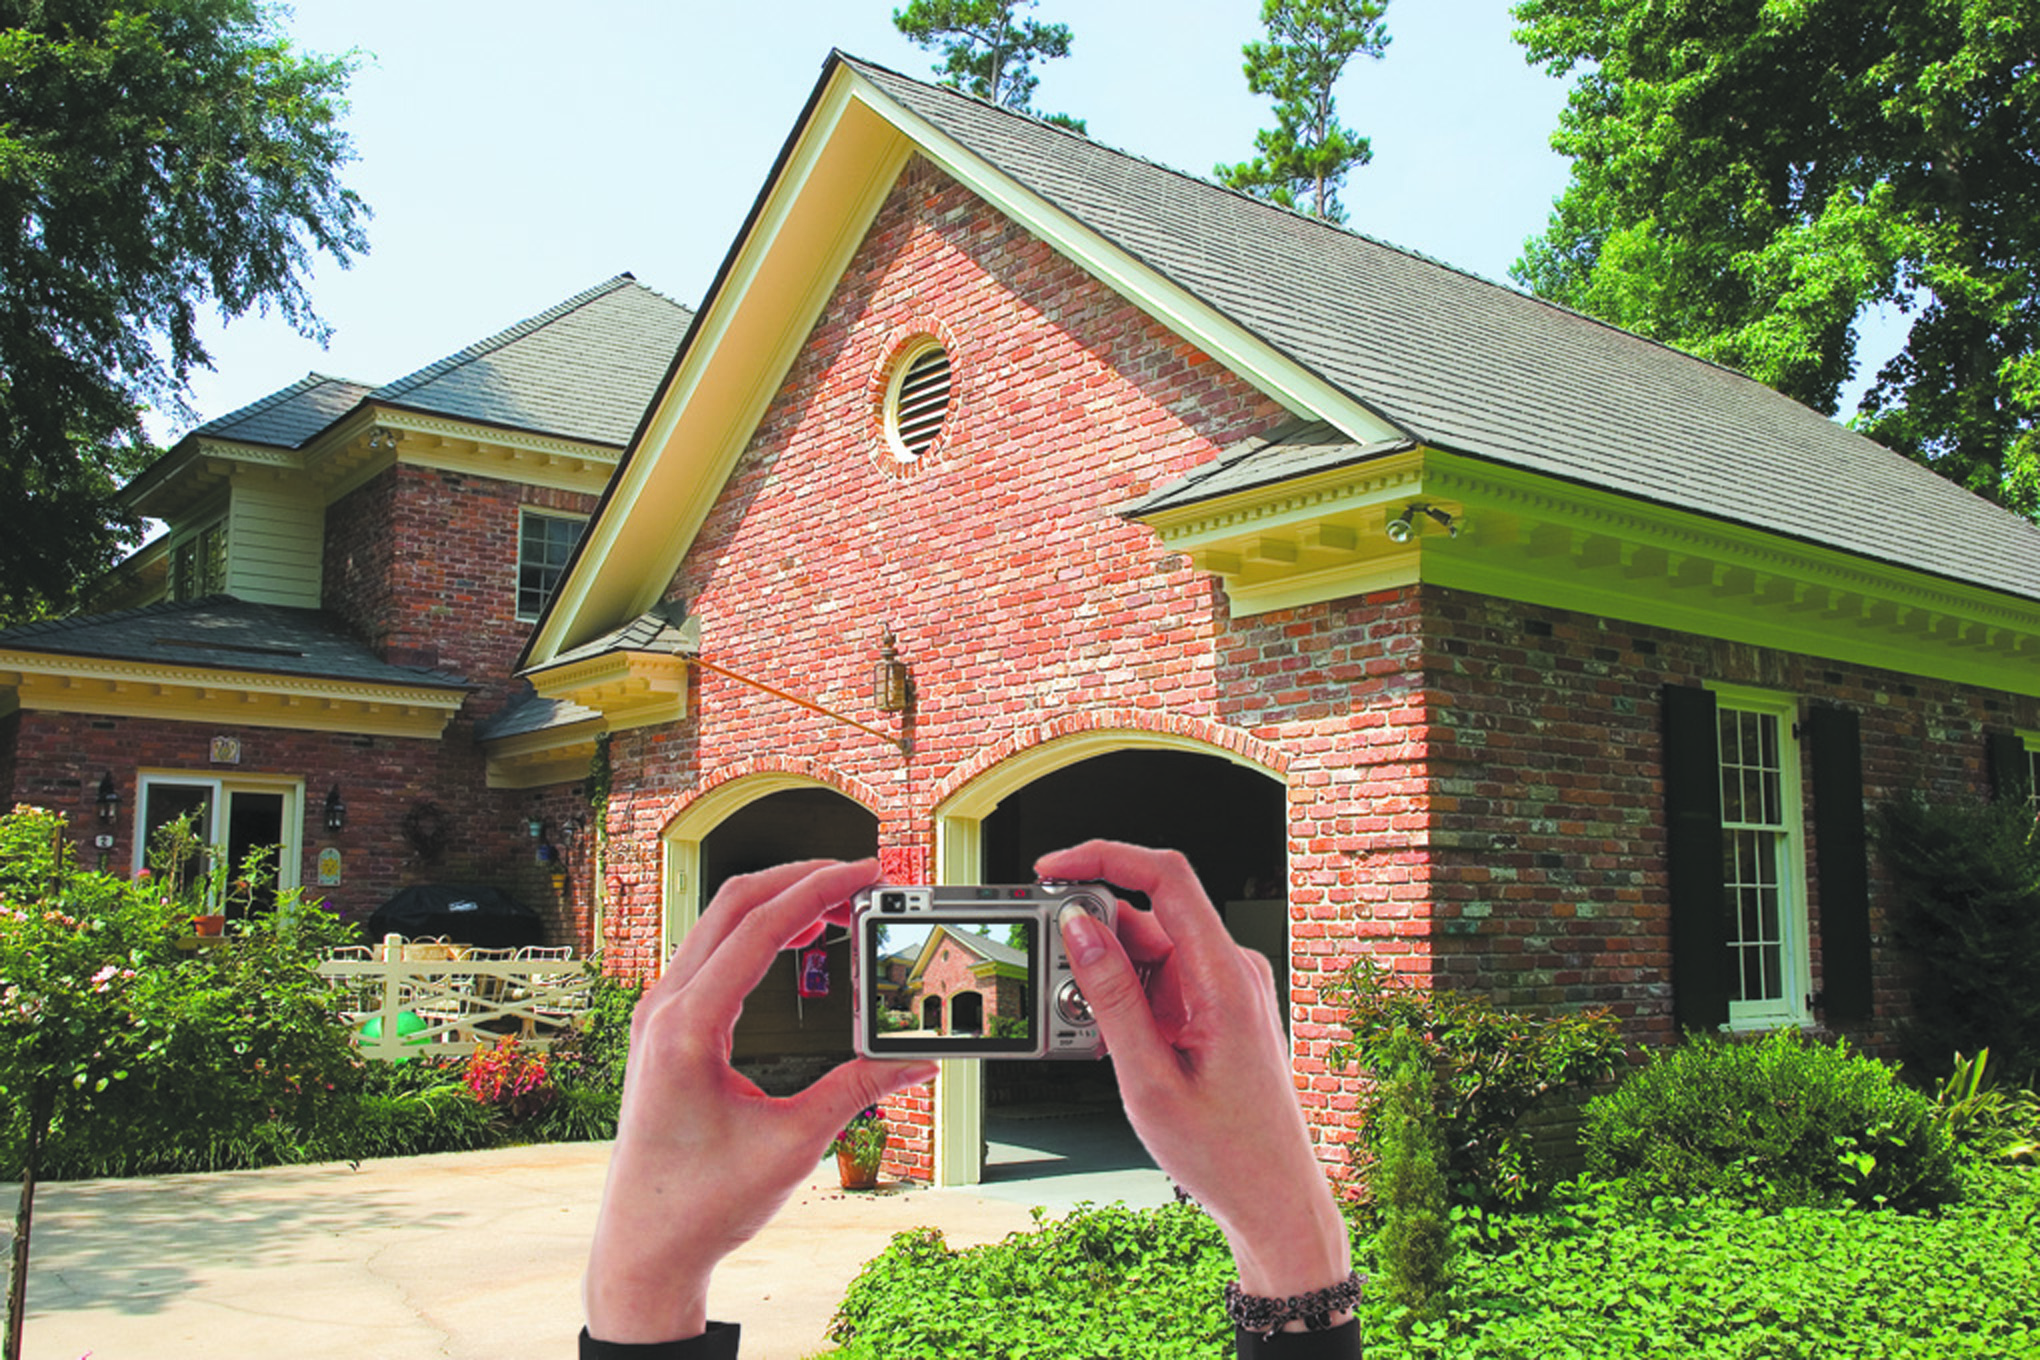
• Don’t stand directly in front of the house. One of my co-workers recently opened a photo from for a real estate ad and said something like, “Nice garage, where’s the house?” It was one of those newer houses that have the double garages sticking out further than the front door (Personally, I think they look like pig snouts). About a third of the house wasn’t even in the picture. So look at the angle you’re taking the picture from. Make those pig-snout garages more of a background. Show that curb appeal!
• Know where the sun is. Professional photographers will tell you the best time to take outdoor photos is generally the first hour after sunrise and the last hour before sunset. That’s probably not real practical for your schedule, but follow it as best you can — until mid-morning and late afternoon. No matter what time of day, though, be aware of where the sun is in relation to the house. Are there dark shadows hiding the house? Is the sun creating a harsh glare on the camera lens? If so, find a different angle to shoot from or wait for a better time of day.
• Get the vehicles out of the driveway. Your vehicle, the seller’s vehicle, whatever. I want to picture MY vehicle in that driveway, not see someone else’s. Especially if it has a business logo that’s visible.
• Don’t include the date/time stamp. If you don’t know how to get rid of that, see the first tip. If you still can’t figure it out, at least provide plenty of foreground so we can crop it out.
Feel free to leave any more tips or ask questions in the comments, and thanks for reading.
